Kids in the Cave playing with flashlights

Cave Adventure: Headlamp and Flashlight

Headlamp and Flashlight

Also check out our “Caving at Home” activity!

Ready to make your headlamp and flashlight using household materials! It’s super simple but it will make the experience of caving at home so much better.

You will need: 2 sheets of constructions paper (yellow and any color of your choice), 1 paper tube, scissors, ruler, glue or tape

  1. With the yellow construction paper, cut two circles that are 2 inches wide.
  2. Using a different color of construction paper, cut out 3 strips that are roughly 12 inches long and 2 inches wide.
  3.  Glue or tape two of the strips together to form a circle. This part is for the headband around the forehead.
  4. Lay the circle on its edge and glue or tape the third strip across the circle from end to end to form an arch.
  5.  Next, take one of the yellow circles and glue or tape it to the front of your paper headlamp. Yay! The helmet is complete!
  6.  Lastly, take the other yellow circle and glue or tape it to one of the openings on the paper tube. Now, you’ve made a flashlight!

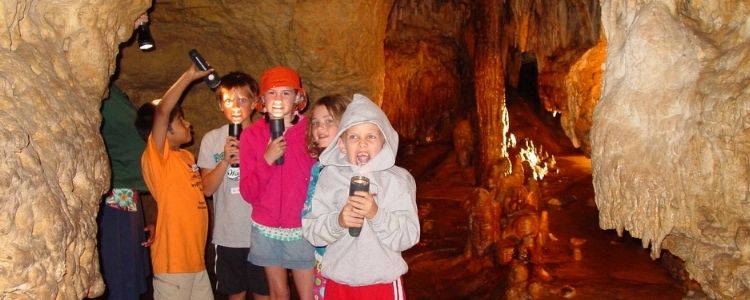
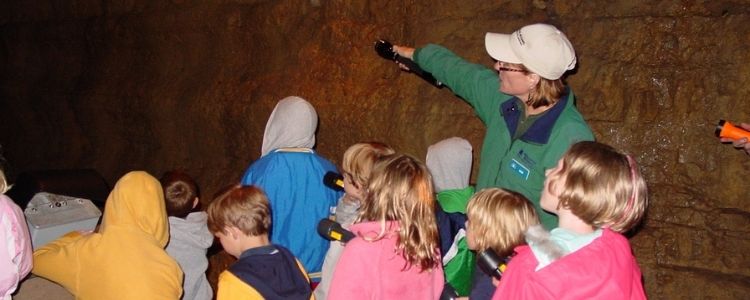
As a background to your cave adventure, you should probably know about speleothems, which are cave formations. The main types are stalactites that hang tight to the ceiling and stalagmites that might reach the ceiling one day. The formation of any speleothem takes an extremely long time. As each drop of water leaves a tiny amount of mineral residue on a cave ceiling, floor, wall, or other features, it adds to speleothem growth.  When a speleothem is broken, it will not be replaced within our lifetime, if ever! Therefore, cavers must be extremely careful while exploring.

Kids with Guide